How to Digitize Your Restaurant Menu with AI
Every restaurant owner who has switched to a new POS system knows the real bottleneck is never the software itself - it is getting the menu into it. A mid-sized restaurant easily has 80-150 items across starters, mains, breads, beverages, and desserts, each needing a name, a price, a category, and a veg/non-veg tag. Typed by hand, that is 3-5 hours of mind-numbing data entry before you can even open the register.
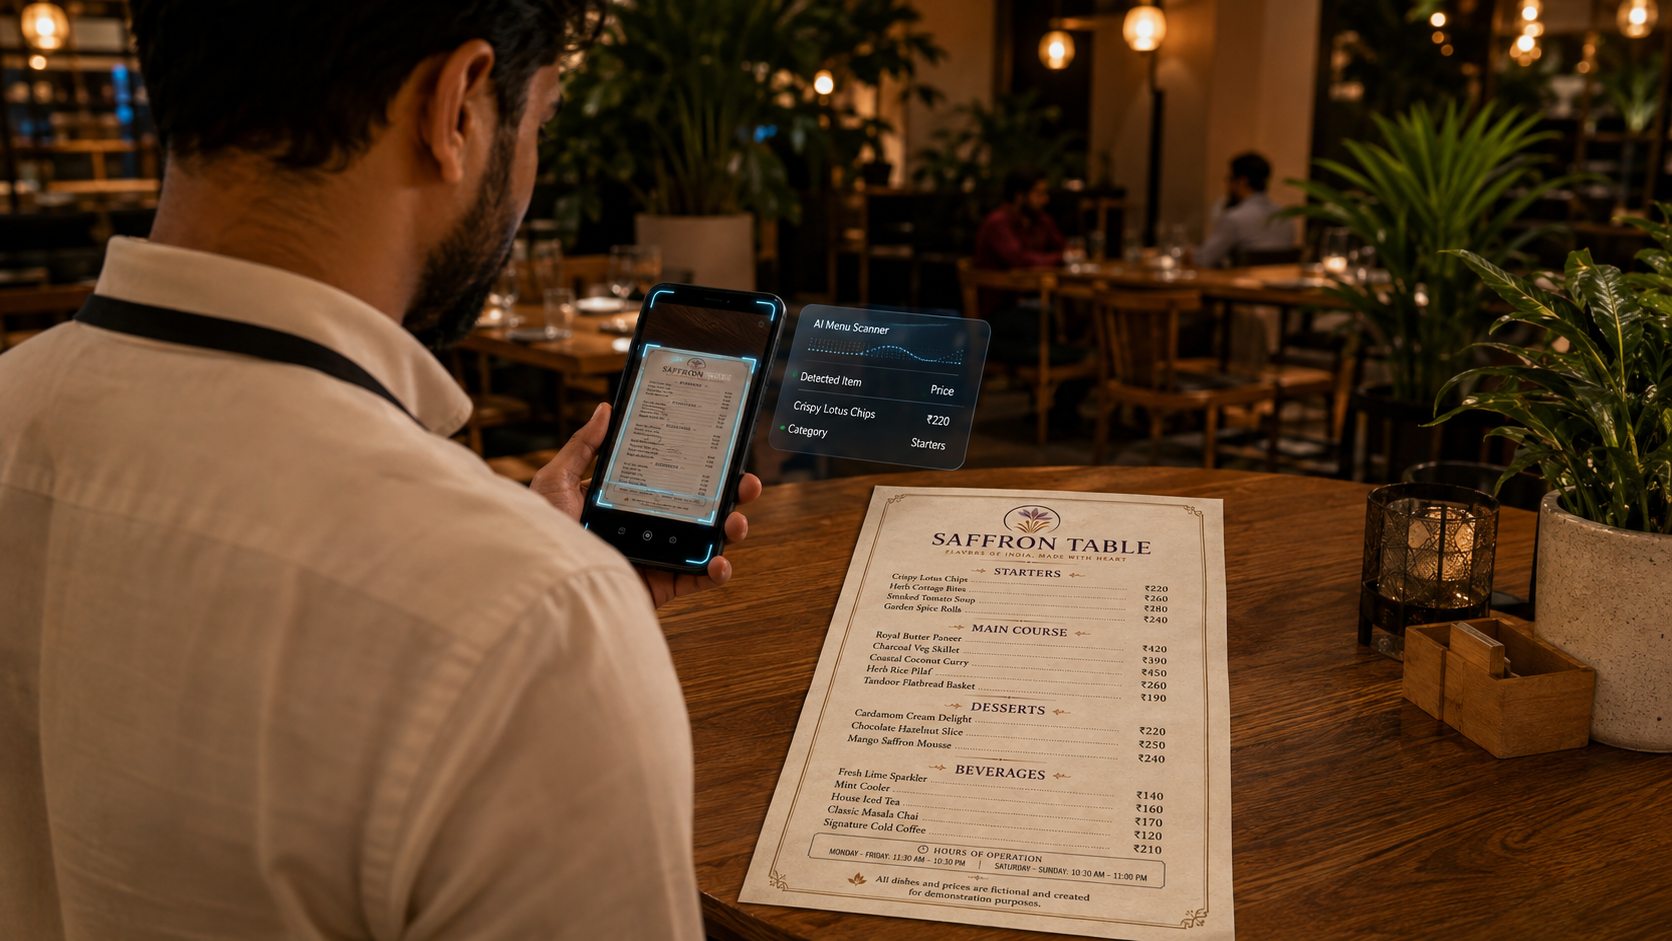
ShyBiz's AI Menu Scanner is built to remove that step almost entirely. Point your phone camera at a printed menu card, a laminated price list, or even a handwritten specials board, and the AI reads it, structures it, and hands you an editable list ready to save. This guide walks through exactly how it works, screen by screen.
Why Manual Menu Entry Is the Real Bottleneck
Ask any restaurant owner what delayed their POS go-live, and menu entry comes up almost every time. It is not complicated work, but it is slow and error-prone - a mistyped price or a missed item means a wrong bill on day one, and nobody notices until a customer complains.
Some owners outsource it to a data-entry freelancer for a day's wage, which helps with the typing but not with the review - someone from your team still has to check every row against the actual menu card afterward. Either way, digitizing a menu the old way costs real hours before you have sold a single plate.
What the AI Menu Scanner Actually Does
The AI Menu Scanner lives on the Create Item page. Instead of typing items one at a time, you upload a photo of your menu and the AI extracts:
- Item name - read directly off the menu card
- Price - parsed from the ₹ amount next to each item
- Category - inferred from the section the item was under (Starters, Main Course, Beverages, etc.)
- Food type - Veg or Non-Veg, picked up from the usual red/green dot markers or dish names
Everything lands in an editable preview table before anything is saved - the AI does the heavy lifting, but you get the final say on every row. It also checks the scanned items against what is already in your menu and flags likely duplicates, so re-scanning a menu you have already digitized will not create a mess of repeated items.
Step-by-Step: Scan Your Menu in Under 2 Minutes
Step 1: Open the AI Menu Scanner
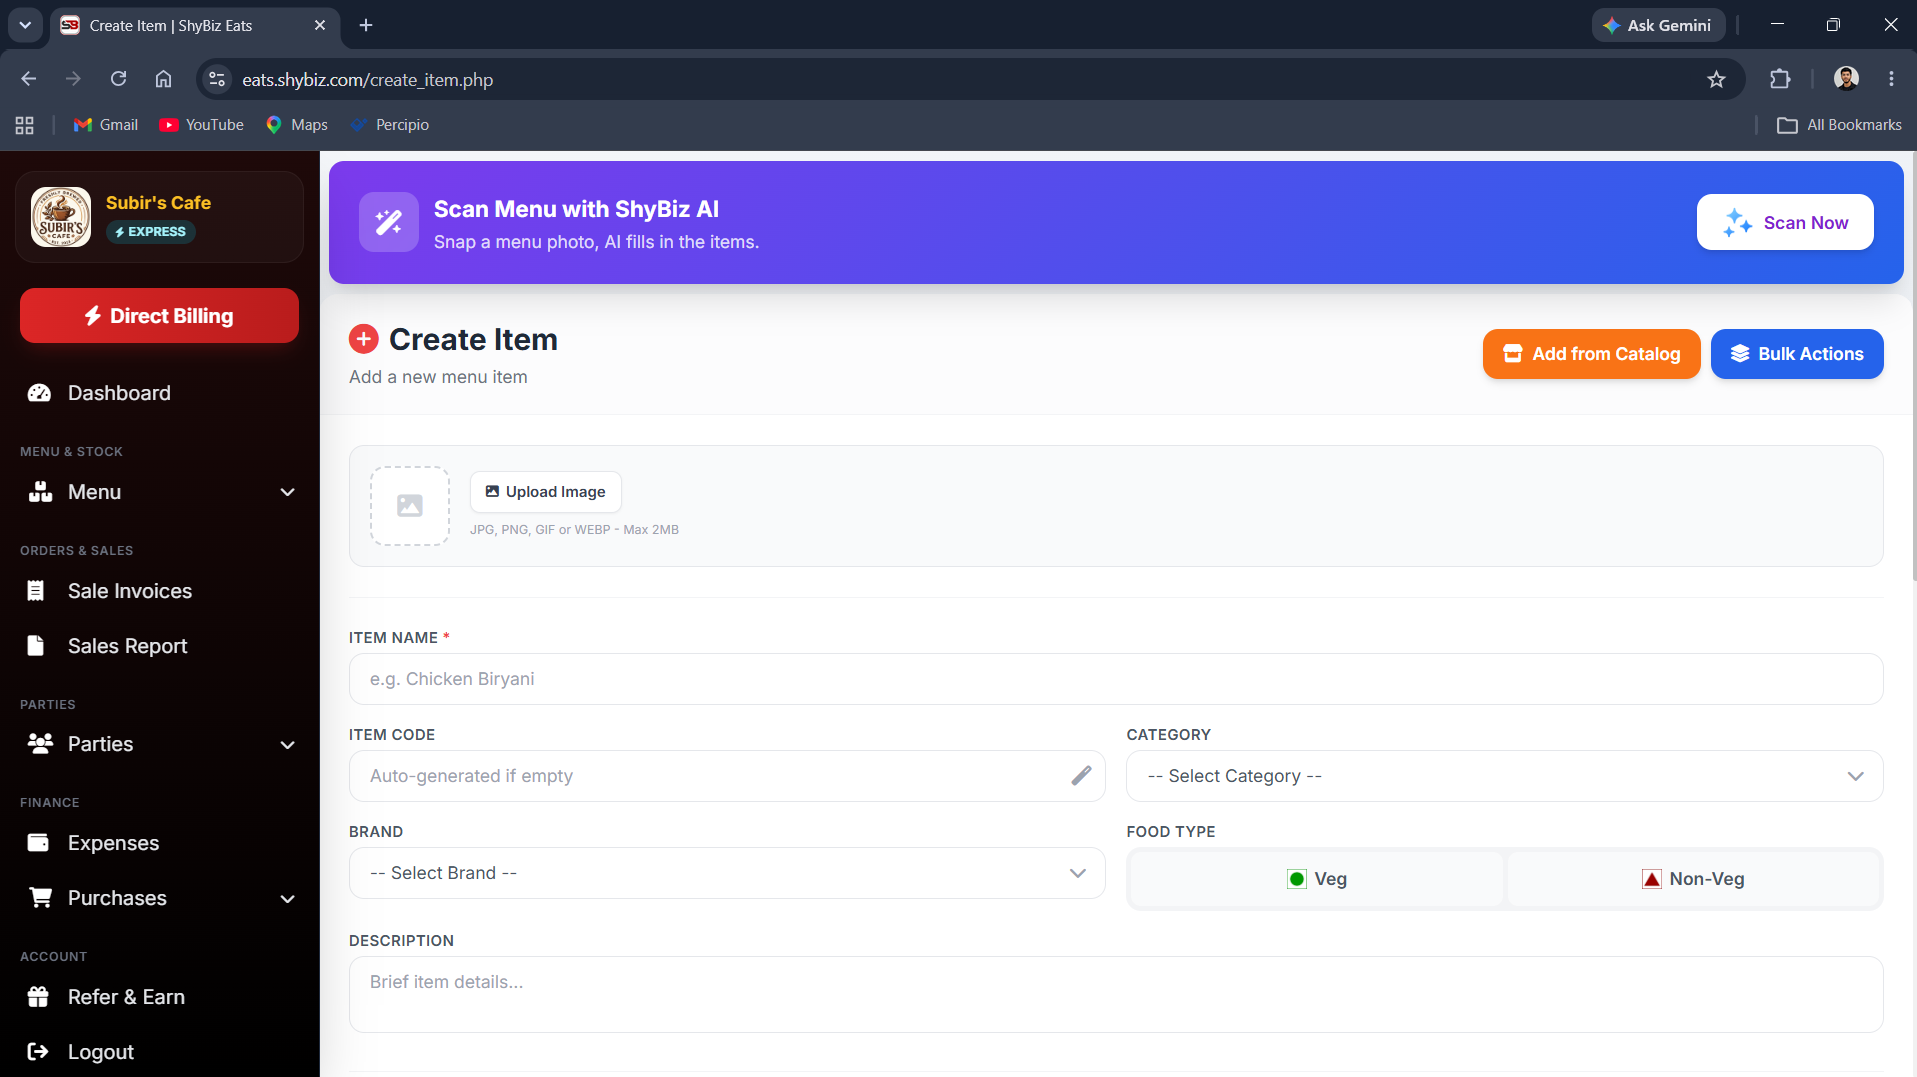
On the Create Item page, you will see a purple-to-blue banner at the top: "Scan Menu with ShyBiz AI." Tap "Scan Now" to open the scanner.
Step 2: Take a Photo or Upload a File
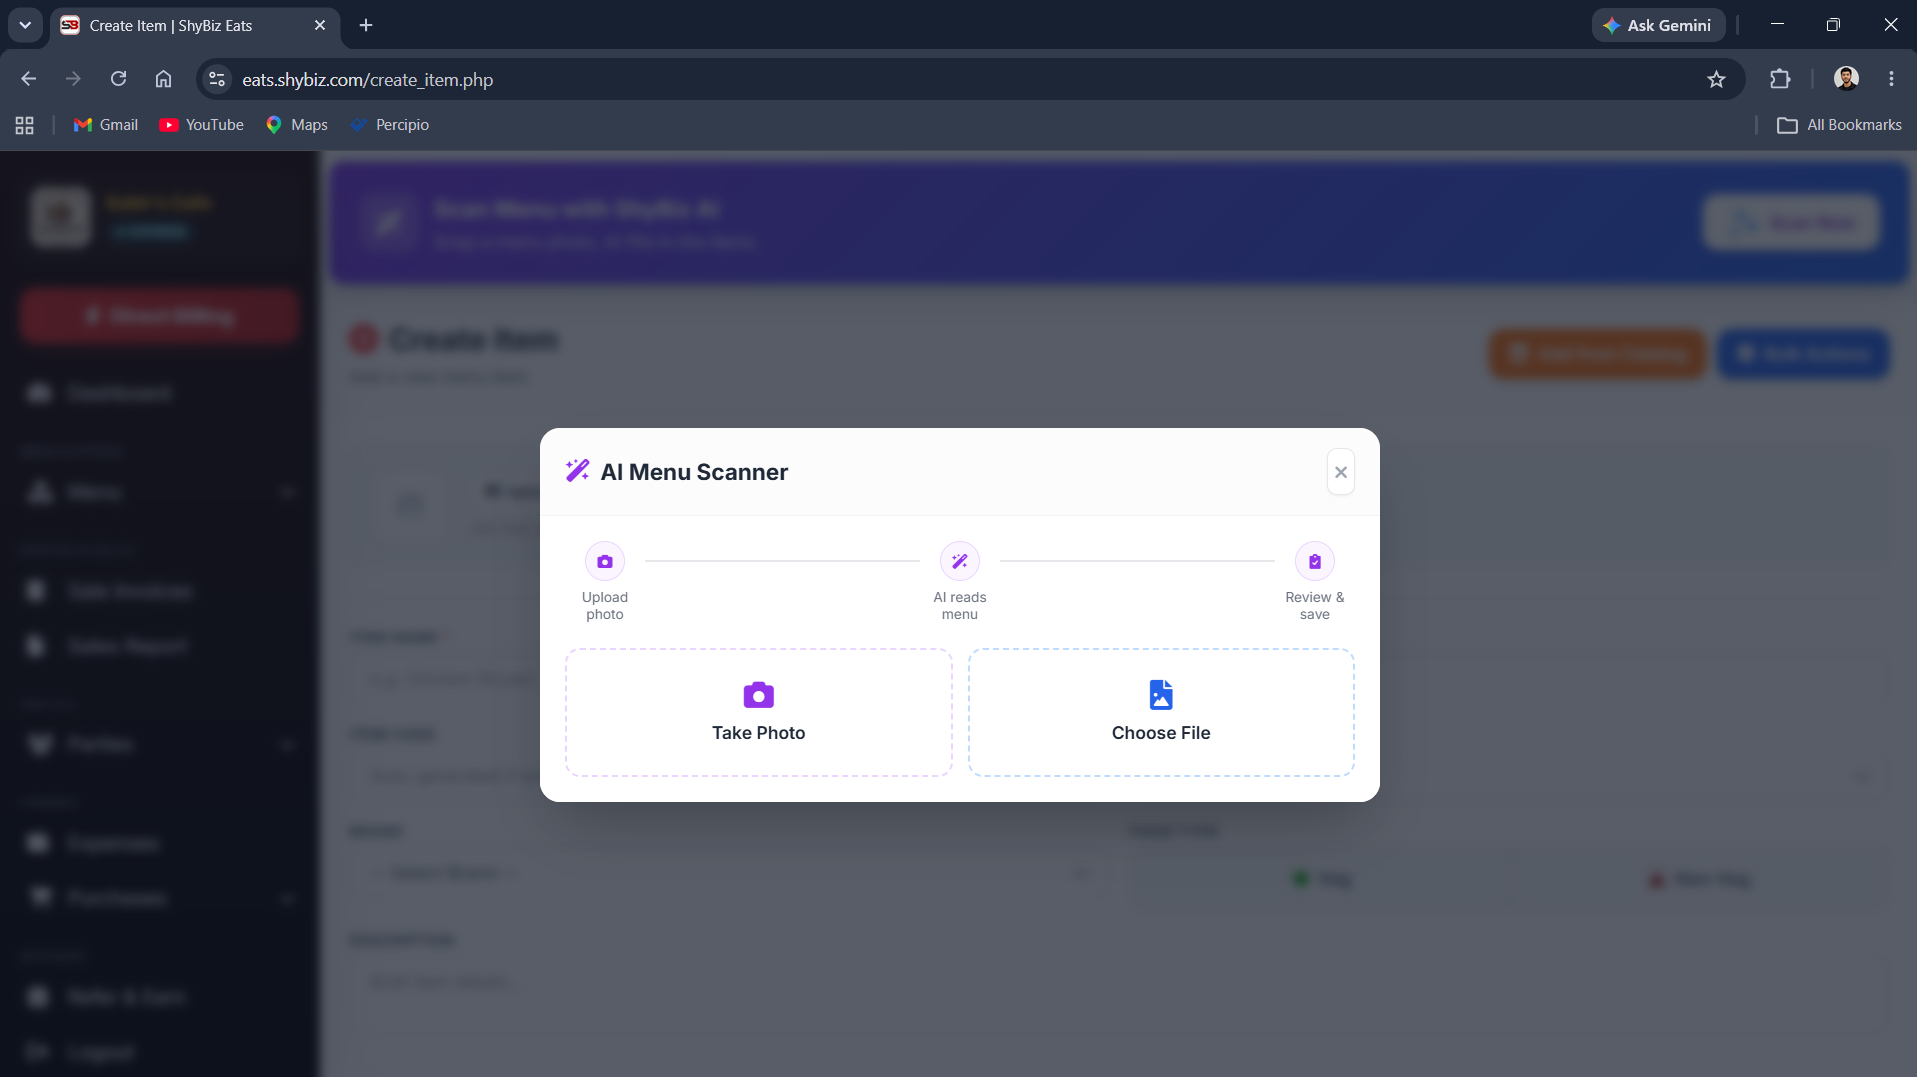
The scanner modal opens with a quick 3-step timeline - Upload photo, AI reads menu, Review & save - so you know exactly what to expect. From here you can either Take Photo to use your camera directly, or Choose File to upload an existing photo or PDF page from your gallery.
If your menu spans several pages or sections, do not try to fit it all into one photo - scan one section at a time for much cleaner results (more on this below).
Step 3: Let AI Read the Menu
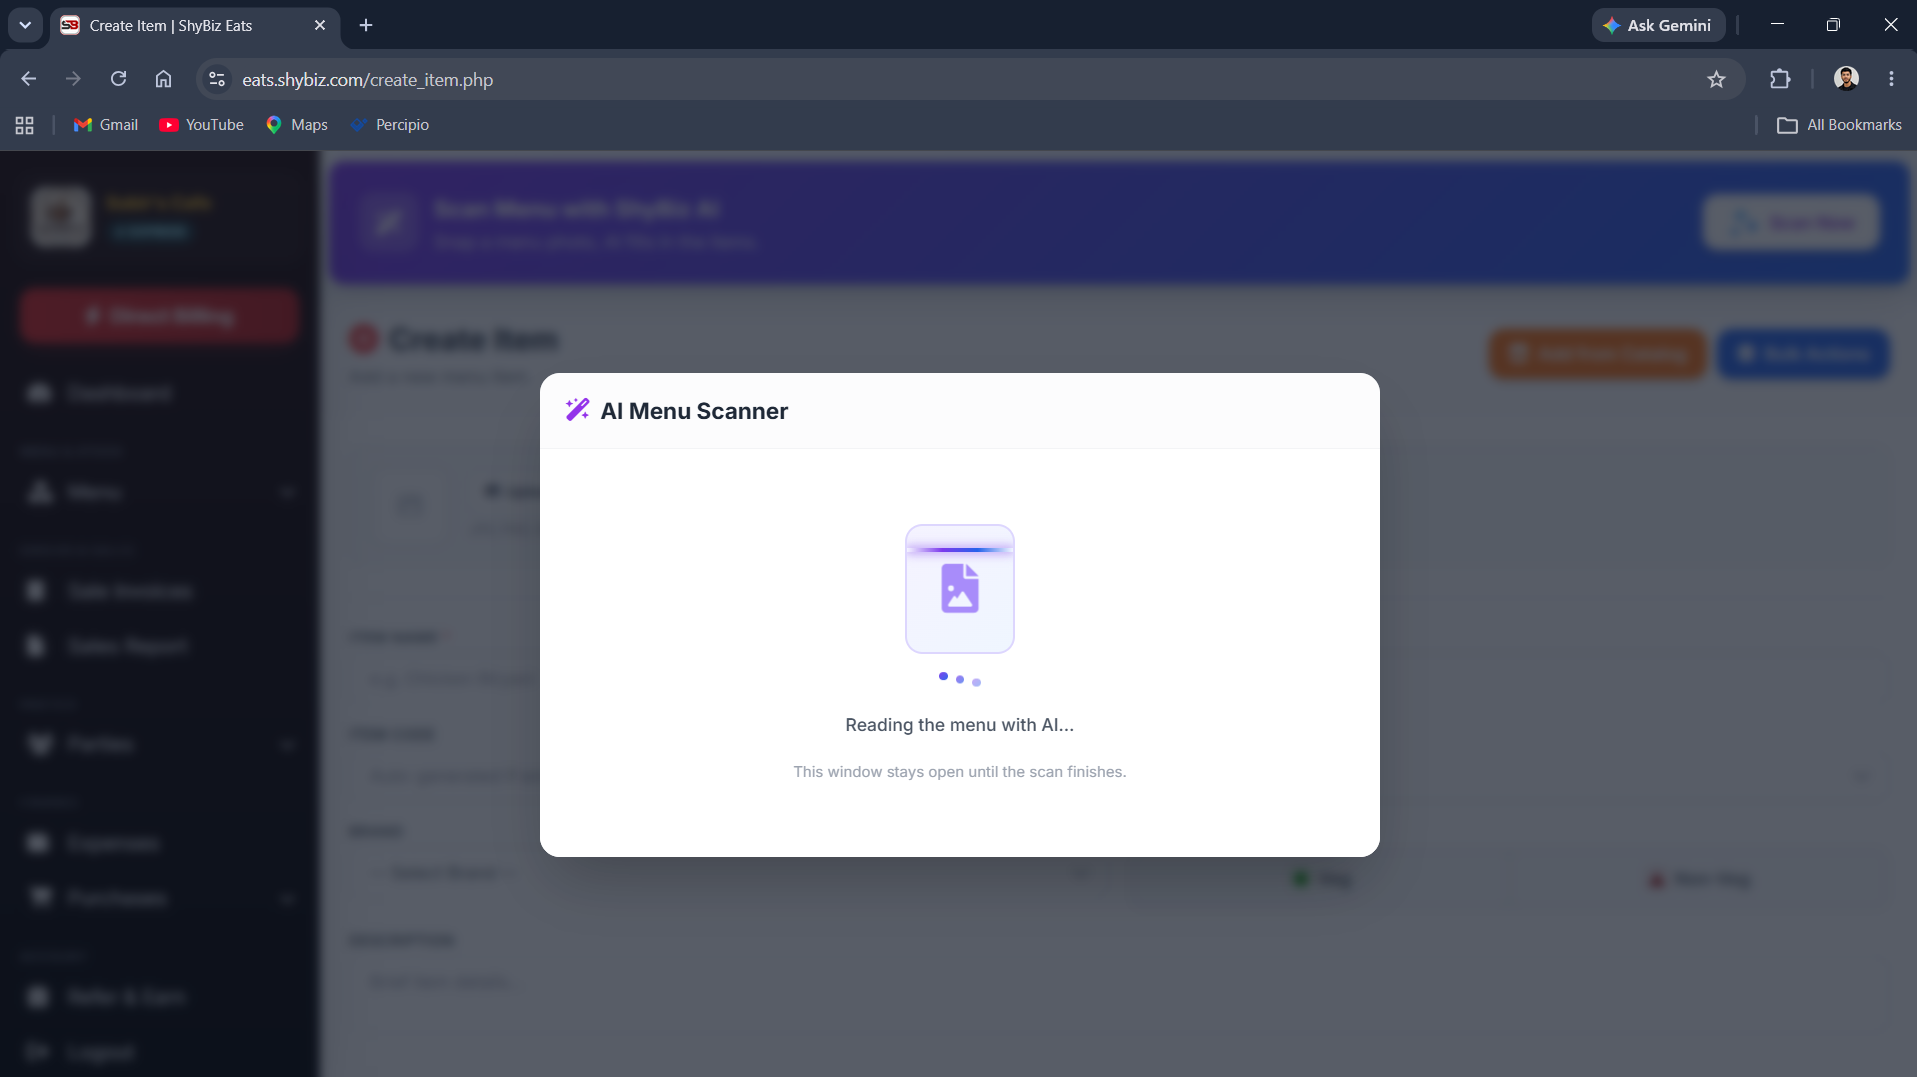
Once a photo is submitted, the scanner shows a short scanning animation while it reads the image. This usually takes somewhere between 10 and 20 seconds depending on how many items are on the page - the modal stays open the whole time, so there is nothing to click or wait for elsewhere.
Step 4: Review and Fix Anything the AI Got Wrong
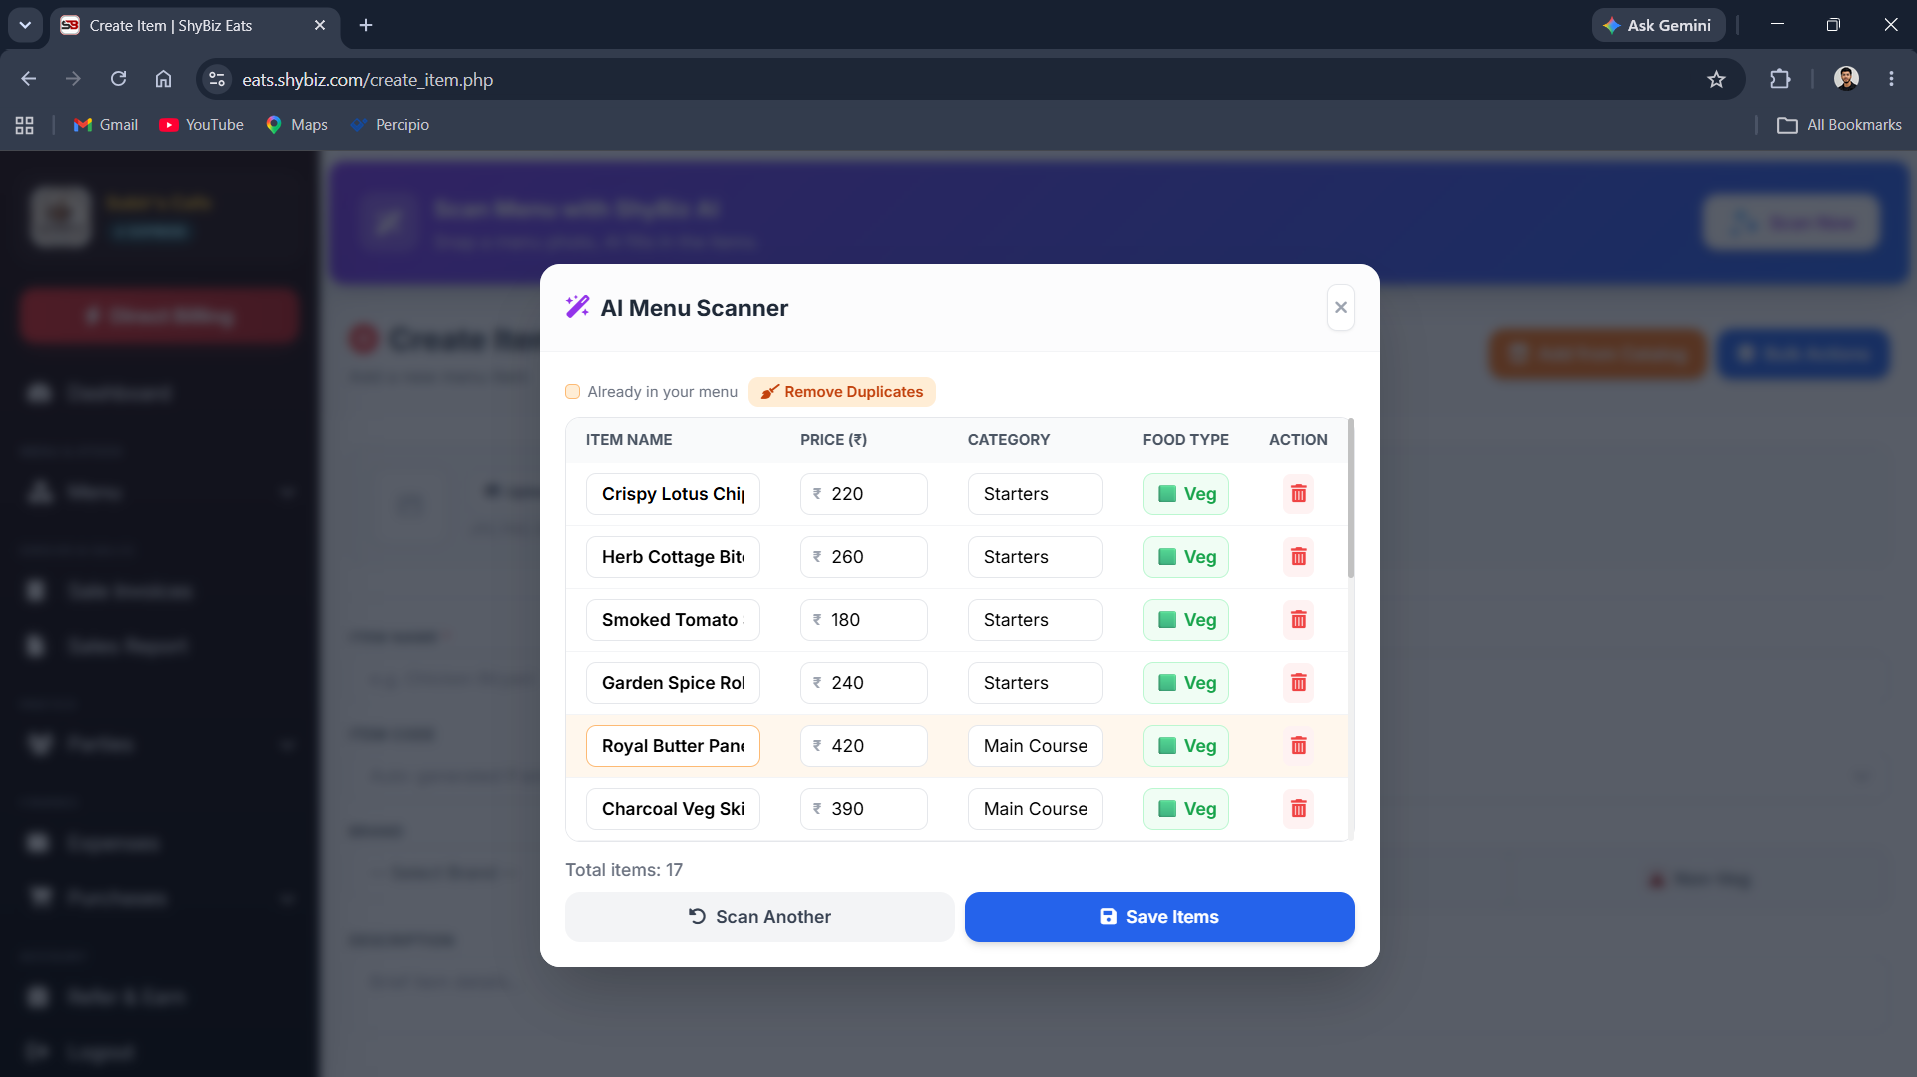
This is the step that makes the whole thing trustworthy. The scan results land in a table - Item Name, Price, Category, Food Type - and every field is editable inline. Nothing is written to your live menu yet.
Items that already exist in your menu are highlighted in orange so you do not end up with duplicates, and a "Remove Duplicates" button clears them out in one tap. If you are scanning a multi-page menu, use "Scan Another" - it keeps everything already in the preview and just adds the next page's items to the same list, so you review and save everything together at the end.
Step 5: Save and You Are Live
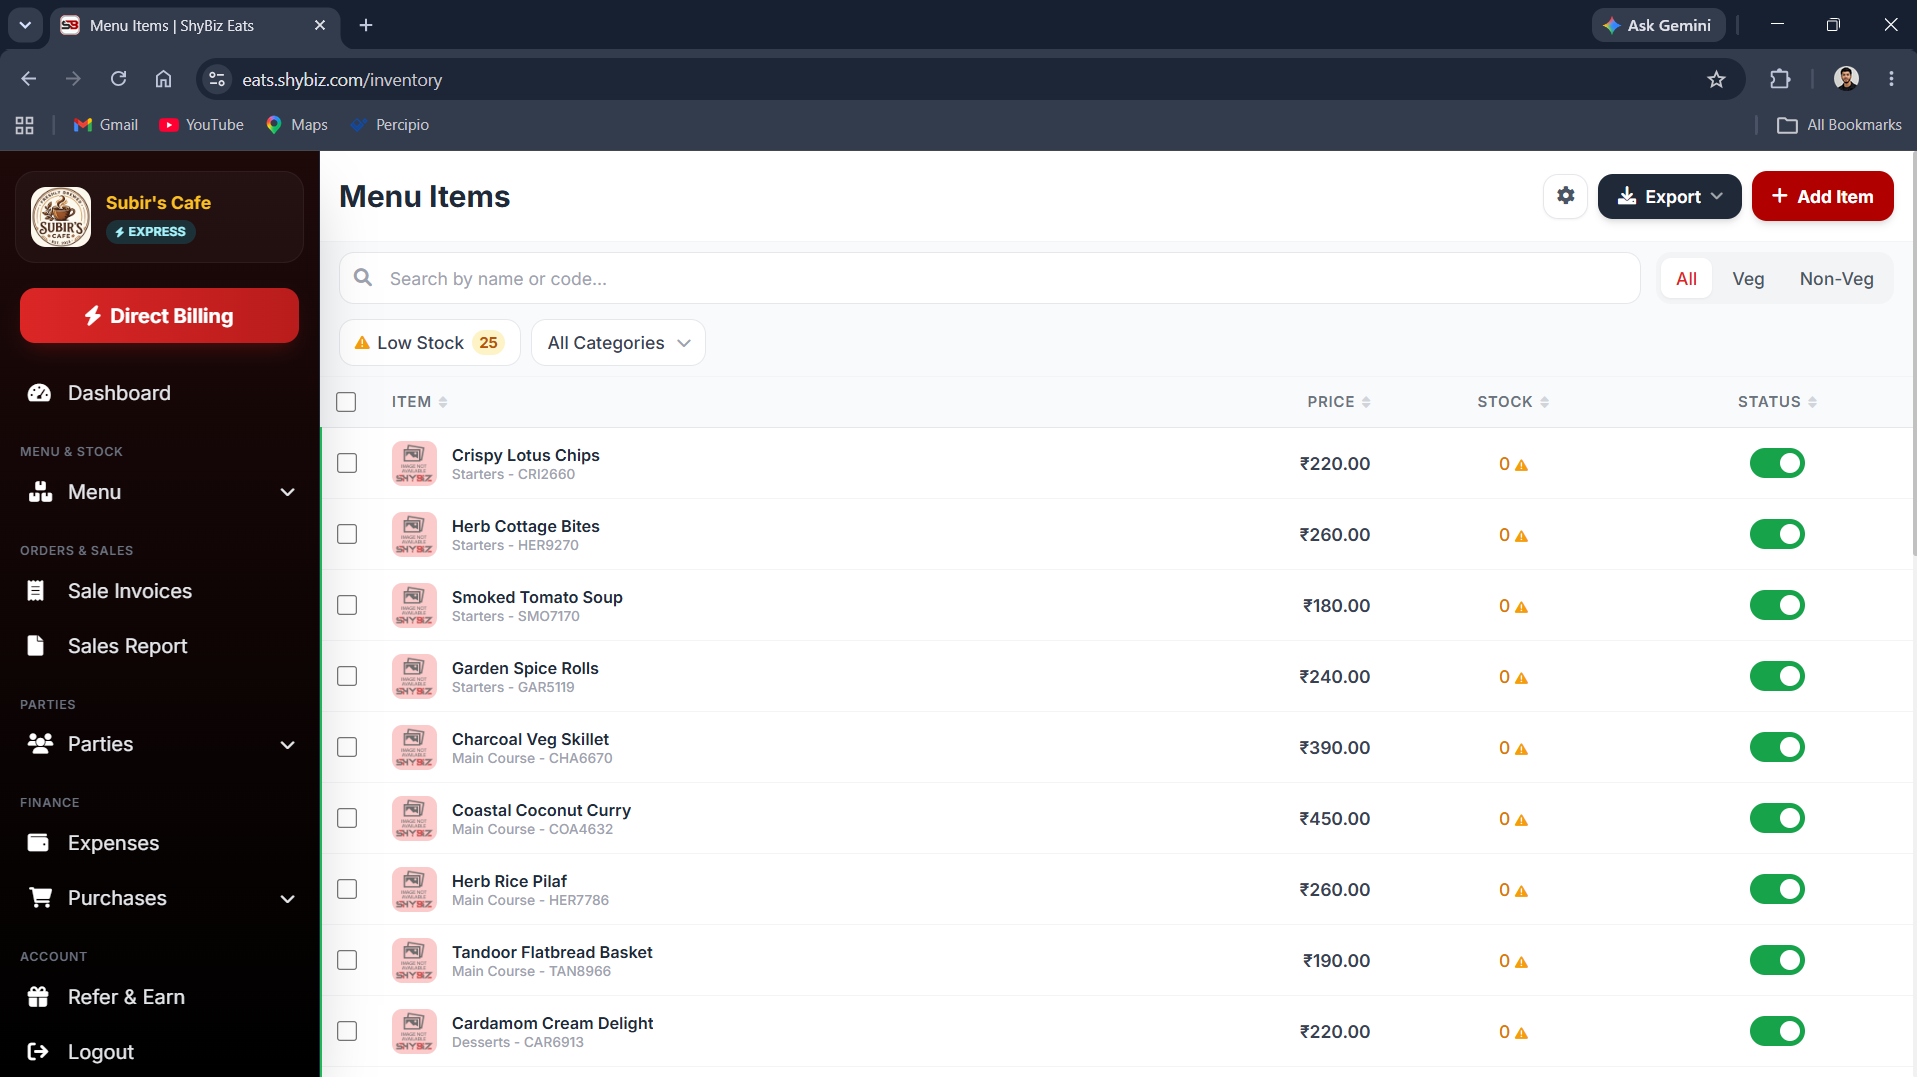
Once the list looks right, tap Save Items. Everything in the table gets added to your menu instantly - ready to bill against on Create Invoice, and ready to show up on your QR digital menu if you have one set up.
Tips for a Cleaner Scan (Fewer Manual Corrections)
The AI does a good job with a clear photo, but a few habits make a real difference to how much editing you need to do afterward:
- Use natural or bright light, avoid glare. Laminated menus especially catch reflections that hide text - angle the card away from direct light sources.
- Flatten the menu before shooting. Curled edges or folds can cut off prices at the margins.
- Scan one section at a time on long menus. A single photo of 10-15 items reads far more accurately than trying to cram an entire multi-page menu into one shot.
- Cross out old prices clearly if the menu has manual corrections. A single, unambiguous price per item avoids the AI picking up the wrong number.
- Hold the camera parallel to the menu. Shooting at an angle distorts the text and increases the chance of misreads on the columns furthest from the camera.
AI Scan vs. Typing It Yourself vs. Hiring Help
| Method | Time for 100 items | Cost | Still needs review? |
|---|---|---|---|
| Typing it yourself | 3-5 hours | Free (your time) | No, but slow and tiring |
| Hiring a data-entry freelancer | Half a day (their time) + your review | Rs 500-1,500/day | Yes - someone must check every row |
| AI Menu Scanner | 5-10 photos, ~2 minutes each | Included in your ShyBiz plan | Yes - quick pass on an already-structured table |
The honest comparison is not "AI vs. zero review" - it is "review a messy blank form" vs. "review a table that is already 90% right." That difference is what actually saves the hours.
Conclusion
Menu digitization is the single biggest time sink in setting up a new POS, and it is the one most restaurant owners underestimate until they are three hours into typing prices at 11pm. The AI Menu Scanner in ShyBiz does not remove the need to double-check your menu - it just moves you from "type everything from scratch" to "review and fix a few rows," which is a fundamentally faster and less error-prone place to start from.
If you are setting up a new outlet or just tired of manually adding items every time your menu changes, open Create Item, tap "Scan Now," and try it on your actual menu card.